
Late night bake; Choc-chip cookies
February 10, 2016Do you know what every good camping trip needs?
Apart from a really good packing list (but more on that another time) it needs some really scrumptious, home baked treats!
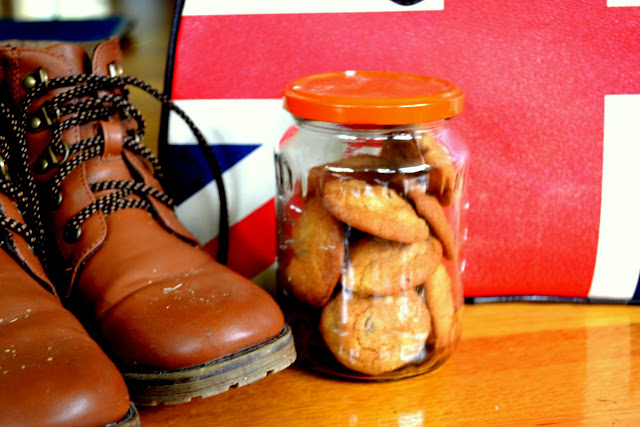

Ta Da!
Simple and unoriginal these choc-chip bickies are ones of the first things I ever made. I'm taking little Caitlin aged 4 or 5 baking these beauties with her mum. They get baked a zillion times a year and are a family favourite (if not THE FAVOURITE).
I feel as though I'm breaking some oath sharing this recipe with you, it's handwritten in shorthand, crammed on a page of mum's favourite cookbook. The little tiny writing only taking up a few lines but getting the simplest and best recipe across.
Mum says she got the recipe off her friend in the Northern Territory but she can't remember ever giving it! Either way it's here and I'm going to share it! *little happy dance*
To begin, you're going to need;
125g butter
1/3 cup caster sugar
1/2 cup brown sugar
1 beaten egg
1 cup self-raising flour
1/2 cup plain flour. Often I alternate between using wholemeal flour, if I want a bit more chew and standard plain flour. It doesn't affect the crunch or softness, just how many I feel I can eat in a sitting! (because you know, wholemeal is healthier...)
1 cup Choc chips
1 tsp vanilla
Preheat oven to 180°C and line large tray with baking paper.
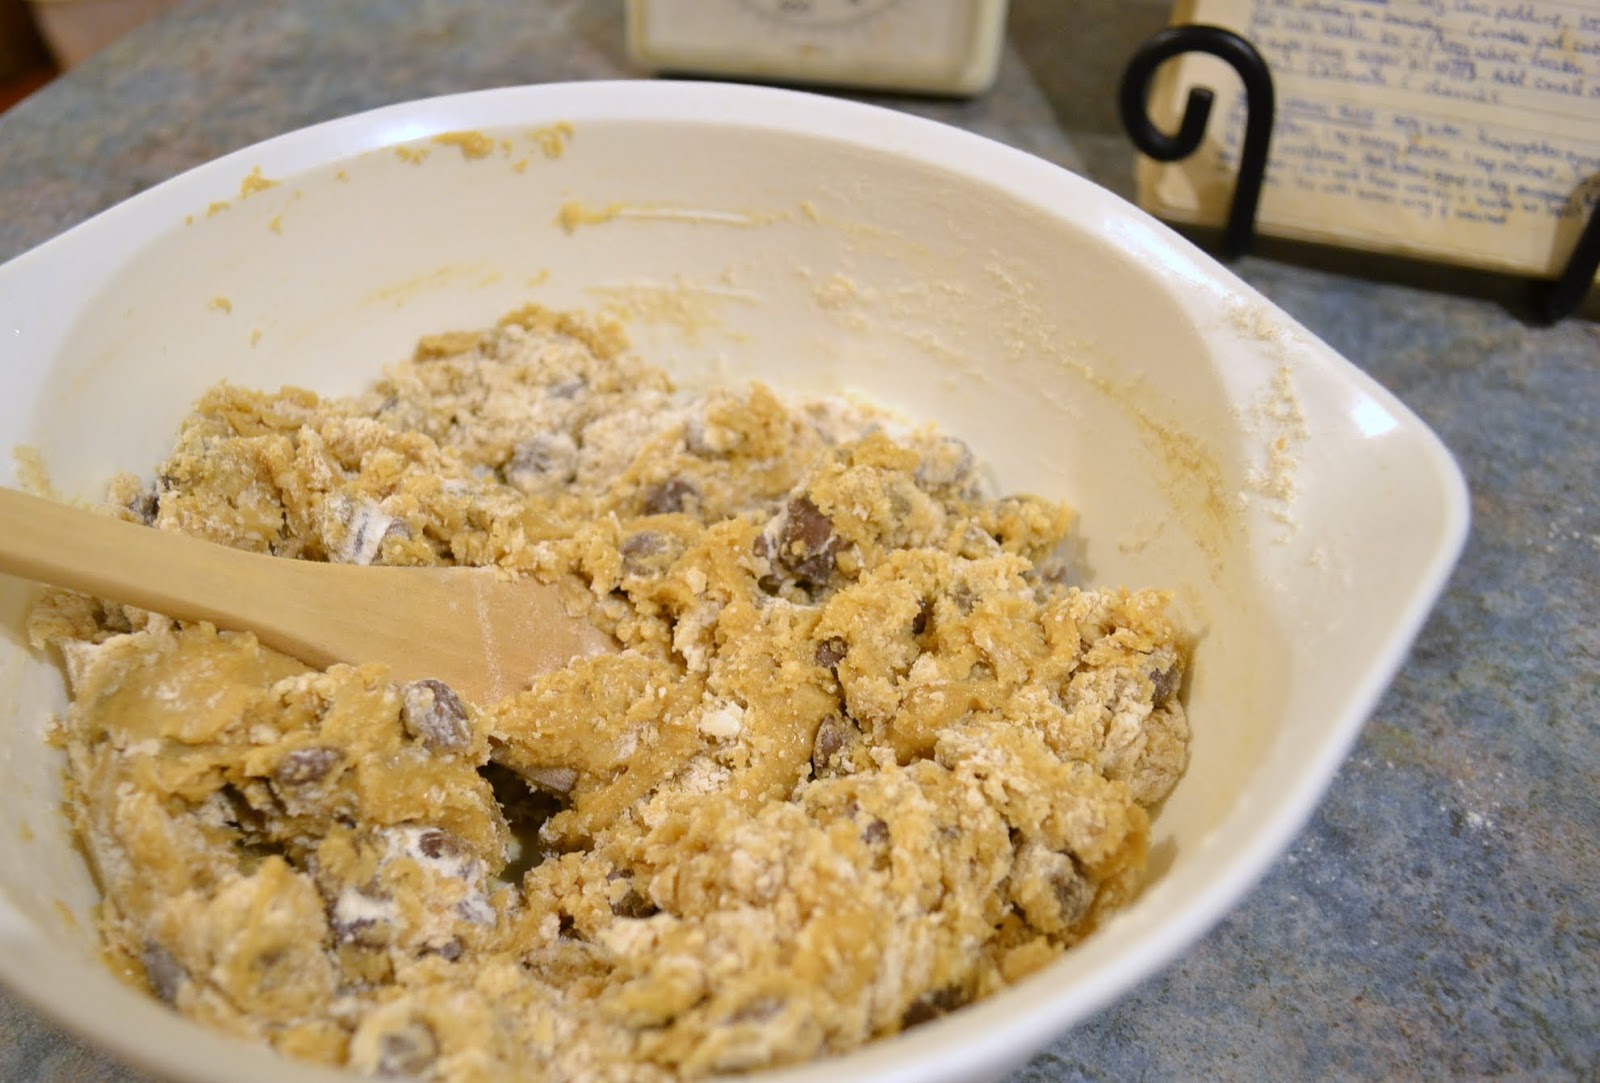
In a large bowl beat butter and sugars (so both) until light and fluffy.

Add all the dry ingredients (self raising flour, plain flour and choc-chips) to the mixture and add the vanilla.
Poor vanilla! Always coming this close to being forgotten! Don't forget the vanilla!
 |
| Yup, just add it all in! |
 |
| Keep going! |
Using a teaspoon full of dough roll into a little ball and place about 2 inches apart because they will spread.
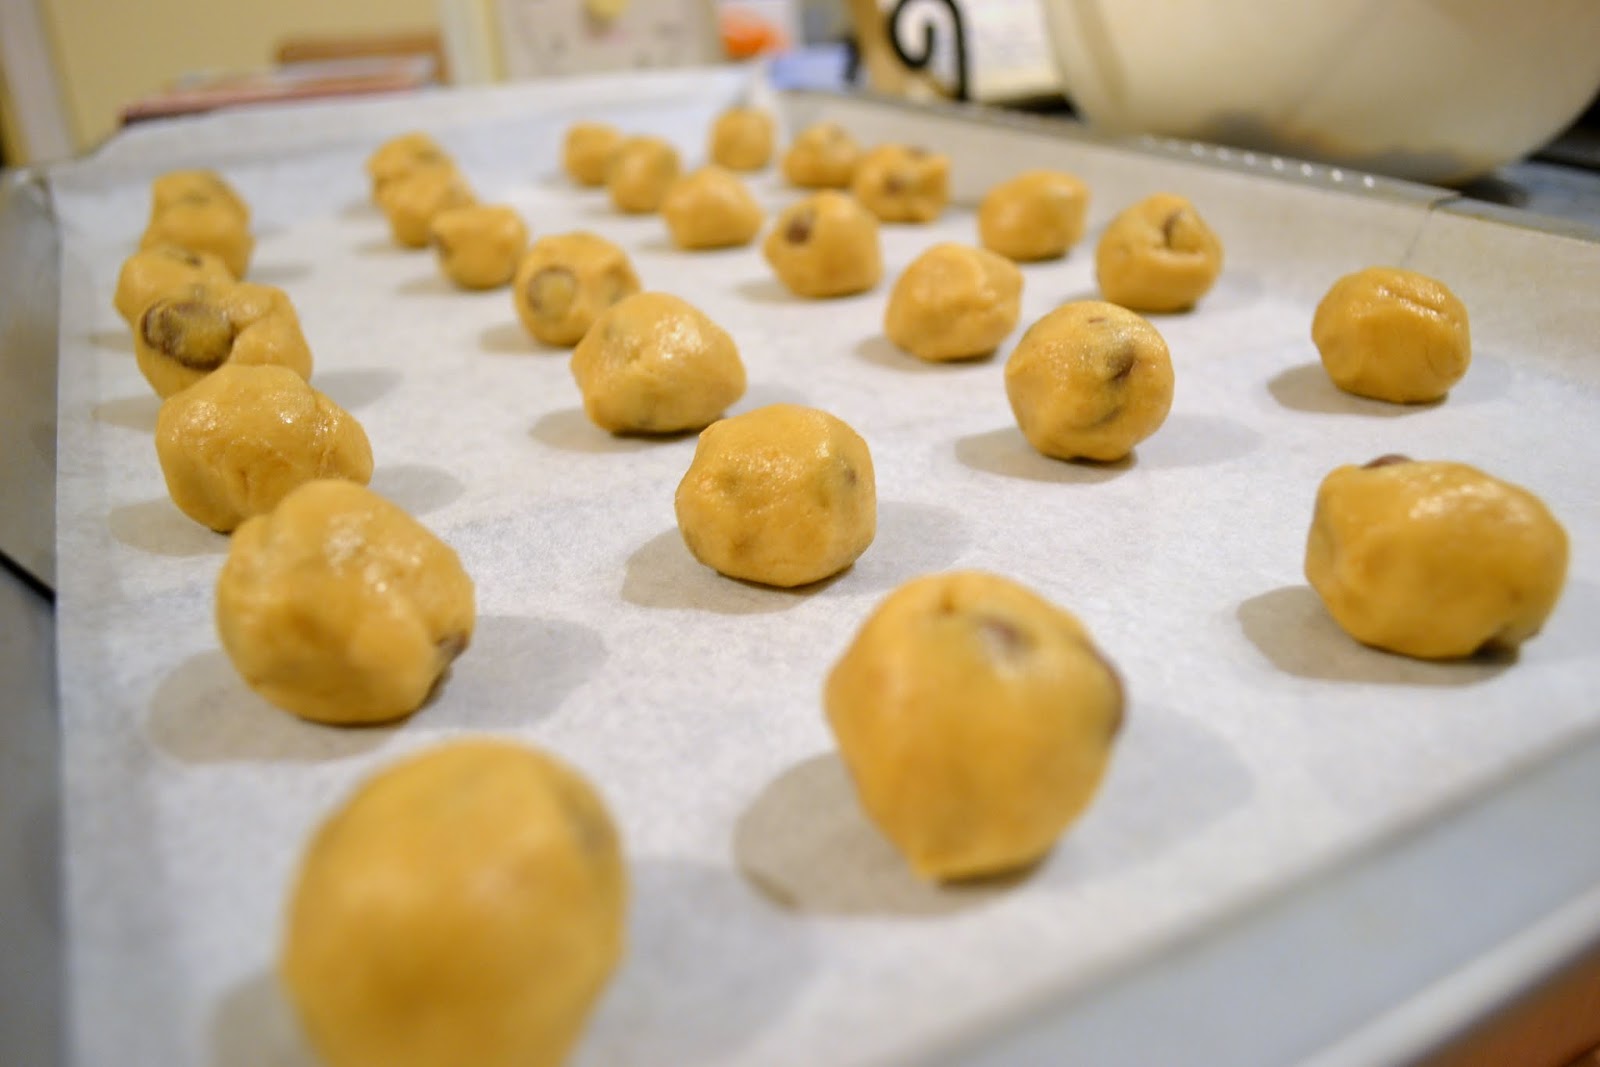
As a child I would always get impatient rolling tiny balls and they would steadily get bigger and bigger, and then bake into on giant biscuit because I didn't spread them out enough! Still good though!
Bake for 15-20 minutes depending on how crunchy you like them. I like mine soft


And there you have it! That easy. The longest thing about this recipe is the cooking time so it's perfect for a last minute whip up or a late night bake.
They keep for ages in a cookie jar or air tight container once cooled.
As always, happy baking!
xx
Caitlin


1 comments
Hi Caitlin, great recipe and instructions. And lovely to know you have a blog. Rosemary Sullivan
ReplyDelete